

Every Indian household throws away roughly half a kilo of vegetable peels, tea leaves, and food scraps a day. Sent to a landfill, that “wet waste” rots without oxygen and releases methane — a greenhouse gas over 25 times more potent than CO2. Turned into compost at home instead, the same scraps become free, nutrient-rich soil food for your garden or terrace pots within four to six weeks.
Under India’s Solid Waste Management Rules, 2016, households are required to segregate waste at source into wet, dry, and hazardous streams, with biodegradable (wet) waste meant to be composted rather than landfilled wherever possible. Composting at home is one of the simplest ways an individual household can act on that rule — no municipal infrastructure required, just a bin, a bit of patience, and the right ratio of ingredients.
Two Home Composting Methods: Aerobic vs. Vermicomposting
There are two beginner-friendly ways to compost kitchen waste at home in India: aerobic composting (using naturally occurring microbes and periodic mixing) and vermicomposting (using earthworms to do the breakdown work). Both work well in Indian homes, including apartments with only a balcony or terrace — the choice mostly comes down to how much you want to manage the process versus let it run itself.
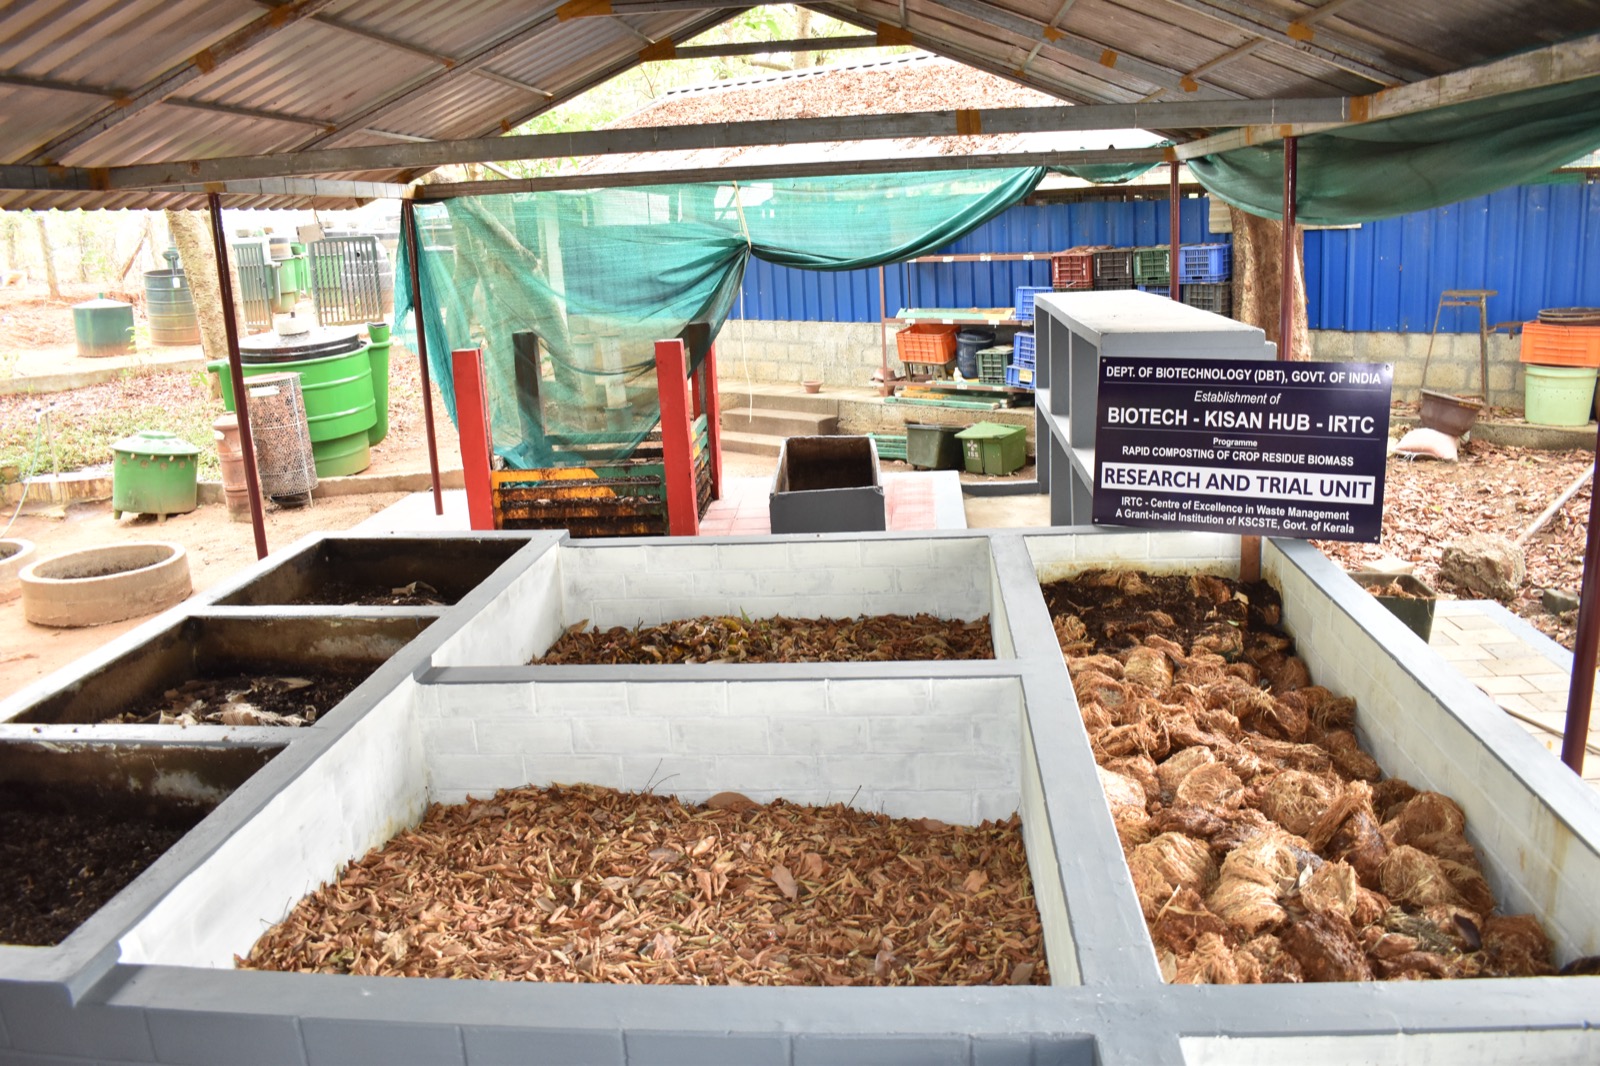
Vermicomposting uses red wiggler earthworms (Eisenia fetida) to digest food scraps into worm castings — a compost that typically carries more nitrogen than regular compost and is gentler on delicate potted plants. Bengaluru’s “Worm Rani” Vani Murthy has taught thousands of residents this exact method; you can read her full story on Prakati for a look at what a mature home vermicomposting setup looks like in practice.
Step-by-Step: Composting Kitchen Waste at Home
- Pick a bin. A terracotta pot, plastic crate, or dedicated compost bin works — anything that holds at least 15-20 litres and has drainage/aeration holes in the base and sides. Place a tray underneath to catch any leachate.
- Lay a base. Start with a 2-inch layer of garden soil or dry leaves — this seeds the bin with the microbes that do the actual decomposition.
- Balance greens and browns. “Green” waste (vegetable peels, fruit scraps, tea leaves) provides nitrogen; “brown” waste (dry leaves, shredded newspaper, cardboard) provides carbon. Aim for roughly one part green to two or three parts brown by volume — too much green and the bin turns smelly and slimy.
- Chop it small. Cut larger scraps (banana peels, corn cobs, citrus rinds) into smaller pieces — more surface area means faster breakdown.
- Cover every addition. Always top a fresh layer of green waste with a handful of brown material. This controls odour and keeps fruit flies away.
- Turn it weekly. Mix the pile once a week with a stick or small garden fork to keep oxygen flowing — this is what keeps the process aerobic (odour-free) rather than anaerobic (smelly).
- Wait four to six weeks. The compost is ready when it looks dark, crumbly, and smells like fresh earth — no trace of the original scraps.
What to Compost — and What to Avoid
Vegetable and fruit peels, tea bags and coffee grounds, eggshells, dry leaves, and shredded paper all compost well. Avoid adding cooked food, dairy, meat, bones, or oily waste — these attract pests and rot rather than compost cleanly in a home-scale bin. If your household generates a lot of cooked-food waste, that stream is better handled separately (for context on what happens to used cooking oil specifically, see Prakati’s piece on the RUCO initiative).
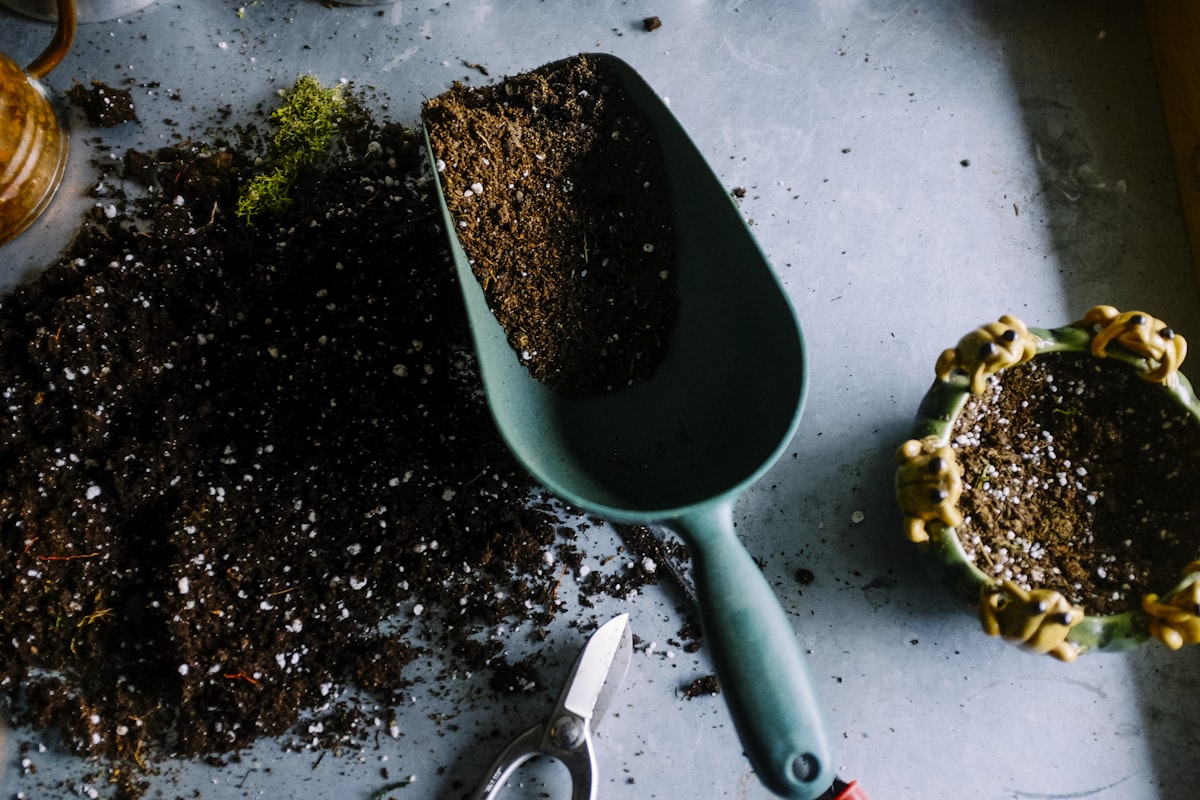
Finished compost is the single best free input for a terrace or balcony garden — mixed into potting soil at roughly one part compost to three or four parts soil, it improves water retention and feeds plants without synthetic fertiliser. It’s a natural complement to any organic fertiliser routine already in use, and a good starting point if terrace gardening or sustainable farming practices are a longer-term goal.
Troubleshooting Common Problems
- Bad smell: Usually too much green waste or not enough turning. Add more dry brown material and mix.
- Fruit flies: Always bury fresh scraps under a brown layer; keep a tight-fitting (but ventilated) lid.
- Too wet / soggy: Add more dry brown material like shredded newspaper or dry leaves to absorb excess moisture.
- Not breaking down: The pile may be too dry — sprinkle a little water — or too compacted — turn it more often for airflow.
Frequently Asked Questions
How long does home composting take?
Aerobic composting typically takes four to six weeks with regular turning; vermicomposting can take slightly longer, six to eight weeks, but needs less active mixing.
Can I compost in a small apartment?
Yes — a compact bin on a balcony, or an indoor vermicompost bin, works well for a family’s daily kitchen scraps and doesn’t require outdoor space.
Is vermicomposting better than regular composting?
Neither is strictly “better” — vermicompost tends to be richer in nutrients and gentler for potted plants, while aerobic composting needs no live worms and is simpler to start. Many home composters eventually use both.
Composting kitchen waste at home is one of the most direct ways an individual household can cut its landfill contribution while producing something genuinely useful in return. Start small — a single bin and a habit of separating wet waste — and the rest tends to follow.